Quick Start
Power and Batteries
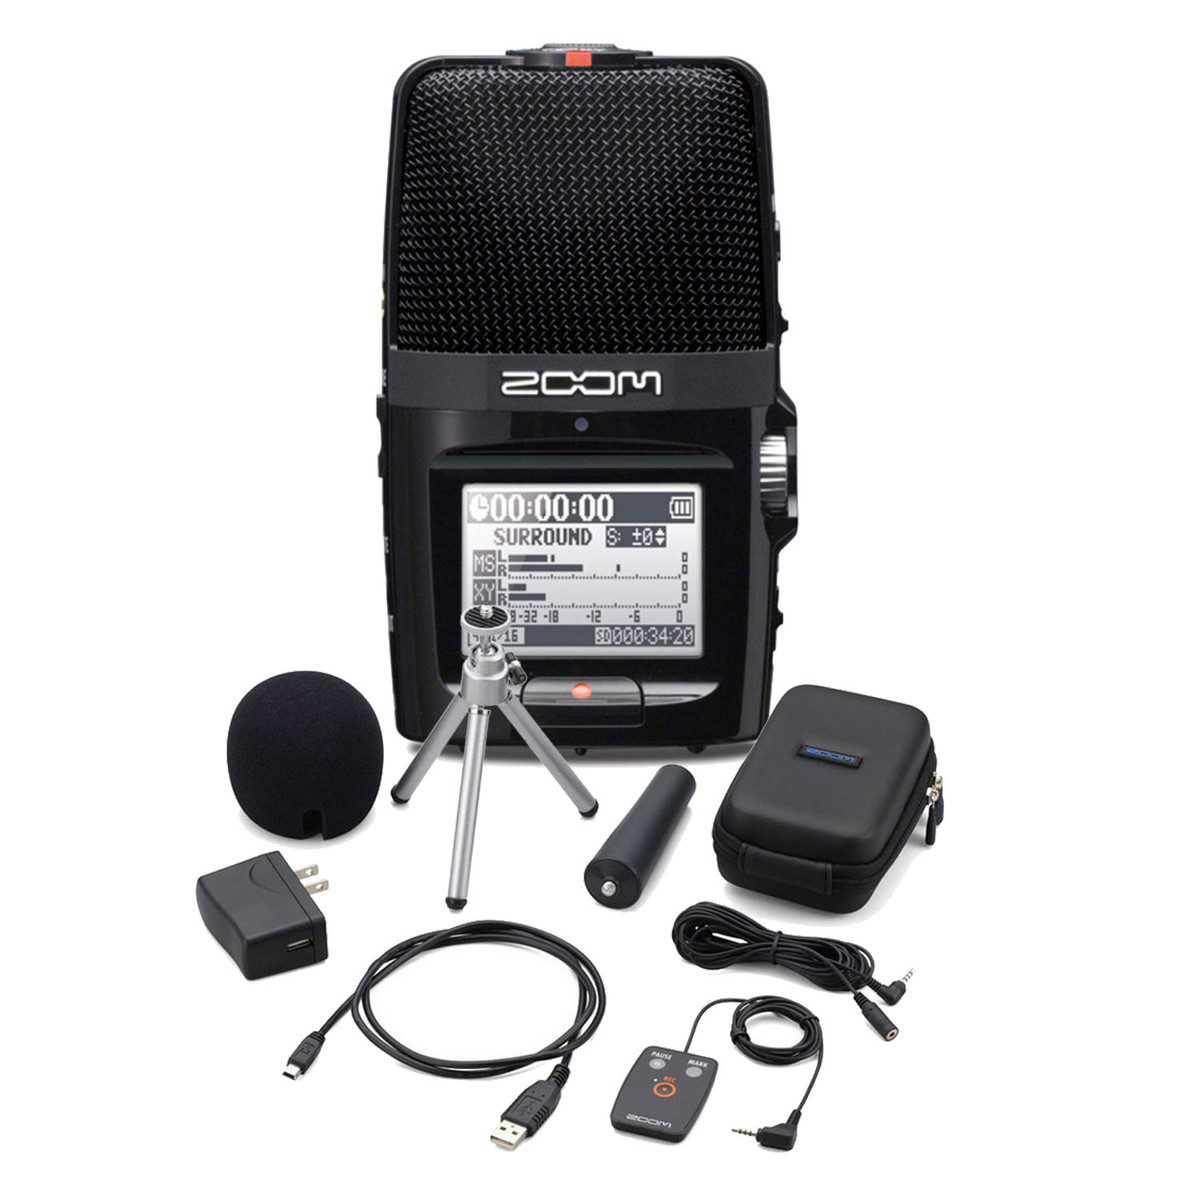
- The Zoom H2n comes with two AA batteries inside
- Maximum battery life: up to 4 hours of recording.
- The power button is located on the side near the bottom of the device with a circle and line icon.
- Use the power slider on the side of the recorder to turn the device on or off. It is labeled.
- Hold the slider down on the power symbol until the device powers on or off.
- Once the Zoom H2N microphone is powered on, information will display on the front of the device.


SD Card Handling
- The SD card slot is located at the bottom of the recorder.
- Insert the SD card by pushing it in until it clicks.
- To remove, push down until the card pops up.
Formatting the SD Card
- Press the Menu button on the side of the recorder.
- Navigate to SD Card > Format > Yes.
- Confirm by pressing down on the slider.
Recording Format and Quality
- Press the Menu button.
- Navigate to REC > Recording Format.
- Choose the desired file format:
- WAV 44.1 kHz / 16-bit for high-quality audio (recommended for music, concerts, interviews).
- MP3 for smaller file sizes and extended recording time.
- 16 GB SD card = approx 24 hrs (WAV), approx 227 hrs (MP3).
- Hold the Menu button to exit.
Microphone Modes (Top Wheel)
- MS (Mid-Side): Wide stereo capture. Ideal for orchestras, concerts, soundscapes.
- XY: Accurate stereo imaging. Ideal for interviews, rehearsals, field recordings.
- 2CH: Mix of MS and XY signals.
- 4CH: Separate recording of MS and XY for post-production balancing. Recommended for studio sessions, meetings, soundscapes.
Setting Recording Levels
- Turn the Mic Gain wheel on the right side.
- Monitor the audio meter on the screen.
- Loudest peaks must stay below 0 dB.
- Optimal average levels: -12 dB to -6 dB.
Recording and Playback
- Start/Stop Recording: Press the Record button.
- Playback Files:
- Press down on the Play wheel.
- Scroll to select files.
- Press to play/pause.
File Transfer from SD Card
- Ensure the device is powered off. Open the SD card slot and remove the card. Place card into computer to transfer files.
File Transfer to Computer
- Connect the Zoom H2n to the computer via USB cable. Check to make sure that the microphone is off before plugging in to the computer. If the microphone is on, some software like Adobe Premiere can recognize there’s a microphone plugged in, but no audio will be recorded. Plug in the included cable on the side near the bottom of the device.
- Power on the recorder.
- Press Menu > USB > SD Card Reader.
- Access the SD card as a drive on the computer.
- Drag and drop files as needed.
- Safely eject the drive before disconnecting.
- Format the SD card.

Using the Zoom as a connected microphone
- Use the play button on the side to scroll down to “Audio I/F”. This will take you to a screen with “Sampling Frequency” or “Connect” as your options. If you go to “Sampling Frequency”, you can select between 44 or 48hz. The higher the hertz level, the better the sound quality.

- When you have everything ready to go from the “Sampling Frequency” tab, use the play button on the side to scroll down to “Connect”. Now the Zoom H2N is connected as a USB Microphone to the computer.

Using Software
-
If you want to use this device as a recordable microphone for Zoom/Adobe Premiere or Audition, or any other recording capable program, check your audio settings to allow the H2N to be your main input.
